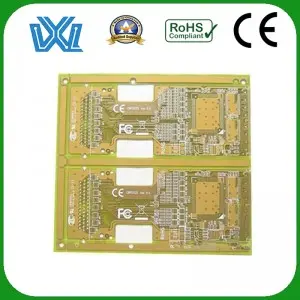
PCB boards are the basis of most of the electronic devices we use today. From our smartphones to home appliances, PCB boards play a vital role in making these gadgets run efficiently. Knowing how to assemble a PCB board can be difficult for beginners, but don’t worry! In this step-by-step guide, we’ll walk you through the process and help you master the art of PCB board assembly.
Step 1: Gather Necessary Tools and Materials
First, make sure you have gathered all the tools and materials you need for PCB assembly. These may include soldering irons, solder wire, flux, desoldering pumps, PCB boards, components, and magnifying glasses. Having all the necessary tools on hand will make the assembly process more convenient and efficient.
Step 2: Prepare the Workspace
Before diving into the assembly process, it is crucial to establish a clean and organized workspace. Remove all debris and ensure that the work area is well lit. A clean workspace will prevent any accidental damage to PCB boards or components during assembly.
Step 3: Identify Components and Their Locations
Carefully inspect the PCB board and identify all components that need to be soldered. Please refer to the PCB layout or schematic to ensure the correct placement of each component. This step is critical to ensuring the functionality and efficiency of the final product.
Step 4: Solder the Components
Now comes the most critical part of the assembly process. Take your soldering iron and heat it up. Apply a small amount of solder wire to the tip of the soldering iron. Place the components on the PCB and apply a soldering iron to the connection points. Let the solder flow to the connection, making sure the connection is secure and stable. Repeat this process for all components until all components are properly soldered.
Step 5: Check for errors and fix them
After soldering, carefully inspect the connections to make sure there are no cold solder joints, excess solder, or shorts. Use the magnifying glass if you need a detailed view. If any errors are found, use a desoldering pump to remove the defective joint and repeat the soldering process. Pay close attention to delicate components such as microchips and capacitors.
Step 6: Test the assembled PCB board
Once you’re satisfied with soldering and inspection, it’s time to test the assembled PCB board. Connect it to a power source and check that all components are functioning as expected. This step is critical to ensuring that the PCB board works properly before being integrated into a larger electronic device.
Assembling a PCB board might seem daunting at first, but following this step-by-step guide will help you navigate the process with ease. Remember to gather all necessary tools and materials, prepare a clean workspace, locate components, solder carefully, perform quality checks, and finally test the assembled PCB board. With practice and patience, you’ll soon be proficient at assembling PCB boards and unlock the endless possibilities of the world of electronics.
Post time: Aug-25-2023

