Welcome to our comprehensive guide to inspecting printed circuit boards (PCBs) with a multimeter. Whether you’re a hobbyist, electronics enthusiast, or professional, knowing how to effectively use a multimeter to test PCBs is critical to troubleshooting and ensuring the reliability of your electronics projects. In this blog, we’ll detail the step-by-step process for a thorough PCB inspection using a multimeter, giving you the knowledge to pinpoint the fault and make the necessary repairs.
Learn about PCBs and their components:
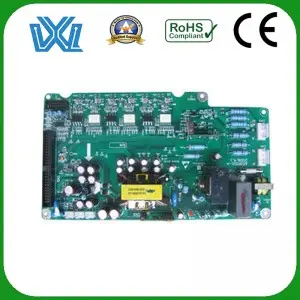
Before diving into the process, it is essential to have a basic understanding of the PCB and its components. A PCB is a flat sheet of non-conductive material (usually fiberglass) that provides mechanical support and electrical connections for various electronic components. These components, such as resistors, capacitors, diodes, and integrated circuits, are mounted on a PCB using conductive paths called traces.
Step 1: Make sure the multimeter is set up correctly:
To begin PCB inspection, set the multimeter to the appropriate settings. Switch it to “Ohms” or “Resistance” mode, as this will allow us to measure continuity and resistance on the board. Also, adjust the range setting according to the expected resistance values you will encounter on the PCB.
Step 2: Check Continuity:
Continuity testing helps identify the integrity of traces and solder joints on the PCB. First turn off the power to the PCB. Next, touch the multimeter’s black and red probes to two different points on the trace or solder joint. If the multimeter beeps or displays zero resistance, it indicates continuity, indicating a good trace or connection. If there is no beep or a high resistance reading, there is an open circuit or bad connection that needs to be repaired.
Step 3: Identify the short circuit:
Short circuits are often the culprit of PCB failure. To identify them, set your multimeter to “diode” mode. Touch the black probe to ground, then lightly touch the red probe to various points on the PCB, especially near ICs and heat generating components. If the multimeter reads low or beeps, it indicates a short circuit that requires further inspection and repair.
Step 4: Measure Resistance:
Resistance testing helps determine the integrity of the resistors on the PCB. Select the appropriate range on the multimeter for the resistance measurement and touch the probe tip to both ends of the resistor. A healthy resistor should provide resistance within the tolerance indicated by its color code. If the readings are significantly off, the resistor may need to be replaced.
Step 5: Test Capacitors:
Capacitors are critical components that are often prone to failure. To ensure its functionality, set the multimeter to “capacitance” mode. Identify the positive and negative terminals of the capacitor and place the multimeter probes accordingly. The multimeter will display the capacitance value, which you can compare to the capacitance marked on the component. Significantly different values may indicate a faulty capacitor.
By following the above steps, you can effectively use a multimeter to check and diagnose problems on the PCB. Remember that patience and focus are crucial during this process to ensure accurate results and avoid further damage. By precisely identifying faults, you can begin repairs with confidence, facilitating successful electronics projects and improving your troubleshooting skills. Happy testing and fixing!
Post time: Jul-31-2023