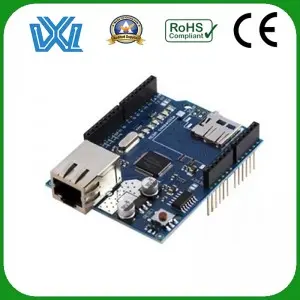
As technology advances, the demand for printed circuit boards (PCBs) continues to grow. PCBs are important components in electronic devices that connect various components to create functional circuits. The PCB production process involves multiple steps, one of the key stages is etching, which allows us to remove unnecessary copper from the surface of the board. While commercial etch solutions are readily available, you can also create your own PCB etch solutions at home. In this blog, we’ll guide you through the process, providing cost-effective and easy-to-use solutions for all your PCB etching needs.
raw material:
To create a homemade PCB etching solution, you will need the following ingredients:
1. Hydrogen peroxide (3%): A common household item that acts as an oxidizing agent.
2. Hydrochloric acid (hydrochloric acid): Available at most hardware stores, it is mainly used for cleaning.
3. Table salt (sodium chloride): Another common household item that can enhance the etching process.
4. Distilled water: used to dilute the solution and maintain its consistency.
program:
Now, let’s dive into the process of creating a PCB etching solution at home:
1. Safety First: Before starting, make sure you have the necessary safety equipment such as gloves, goggles, and a well-ventilated area. Chemicals can be dangerous if not handled properly, so exercise caution throughout the process.
2. Mixed solution: Add 100ml hydrogen peroxide (3%), 30ml hydrochloric acid and 15g salt into a glass container. Stir the mixture well until the salt is completely dissolved.
3. Dilution: After mixing the primary solutions, dilute with about 300 ml of distilled water. This step is critical to maintaining ideal etch consistency.
4. Etching process: Dip the PCB in the etching solution, make sure it is completely submerged. Gently stir the solution occasionally to promote uniform etching. Etch time may vary depending on the complexity and thickness of the copper traces, but is typically 10 to 30 minutes.
5. Rinse and Clean: After the desired etching time, remove the PCB from the etching solution and rinse thoroughly under running water to stop the etching process. Use a soft brush or sponge to clean any remaining impurities from the board surface.
Creating your own PCB etching solution at home offers an affordable and easy-to-use alternative to commercial options. However, it’s important to remember that working with chemicals requires proper safety precautions. Always handle these materials in a well-ventilated area and wear protective equipment. Homemade PCB etching solutions make DIY electronics projects easy while saving money and reducing waste. So unleash your creativity and dive into the world of PCB etching from the comfort of your own home!
Post time: Sep-04-2023

