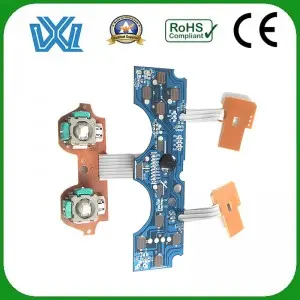
A PCB (Printed Circuit Board) is the foundation of electronic devices, allowing connections and the flow of electricity between various components. Whether you’re an electronics hobbyist or a professional, knowing how to create PCB circuits is an essential skill that can enhance your tech projects. In this blog, we will provide a step by step guide on how to make a PCB circuit.
1. Design and schematic creation:
The first step in making a PCB circuit is to design and create a schematic. Using a schematic design software, such as Eagle or KiCad, draw the circuit diagram. Careful placement of components, an optimal layout that ensures the logic flow of signals and efficient routing is critical.
2. PCB layout:
Once the schematic is complete, the next step is to create the PCB layout. This process involves transferring components and connections from the schematic to the physical board design. Align components with their respective packages, ensuring proper orientation and maintaining optimal spacing to avoid interference.
3. Plate etching:
Once the PCB layout is complete, it’s time to etch the board. First print the circuit board design onto a special transfer paper using a laser printer. Place the printout on the copper clad PCB and heat it with an iron or laminator. The heat transfers the ink from the paper to the board, forming a protective layer on the copper traces.
4. Etching process:
Once the transfer is complete, it’s time to etch the board. Prepare a container with a suitable etching solution (such as ferric chloride) and dip the board into it. Gently agitate the solution to remove excess copper from unprotected areas, leaving only the desired traces. During this process, make sure to take safety precautions such as wearing gloves and goggles, as the etching solution can be dangerous.
5. Drilling:
After etching, holes need to be drilled to place components. Use a drill with a fine bit that matches the size of the component leads. Carefully drill through the designated component points and make sure the holes are clean and free of any debris.
6. Welding:
After the board has been etched and holes drilled, it’s time to solder the components onto the PCB. Start by threading the components through their respective holes, making sure they are securely seated. Flip the board over and solder each component, applying heat to melt the solder wire and form a strong bond. Use a quality soldering iron and flux to achieve clean, reliable solder joints.
7. Test:
After soldering all the components, the functionality of the circuit must be tested. Use a multimeter to check trace continuity and verify proper connections. Also, perform a visual inspection to ensure there are no solder bridges or cold joints.
in conclusion:
Creating PCB circuits may seem daunting at first, but with the right knowledge and tools, it can become an achievable task. By following the step-by-step guide provided in this blog, you can confidently make PCB circuits for your electronics projects. Remember, practice makes perfect, so don’t be discouraged if it takes a few tries to get the hang of the process. With time and experience, you’ll be able to successfully create complex and high-performance PCB circuits.
Post time: Jul-07-2023

